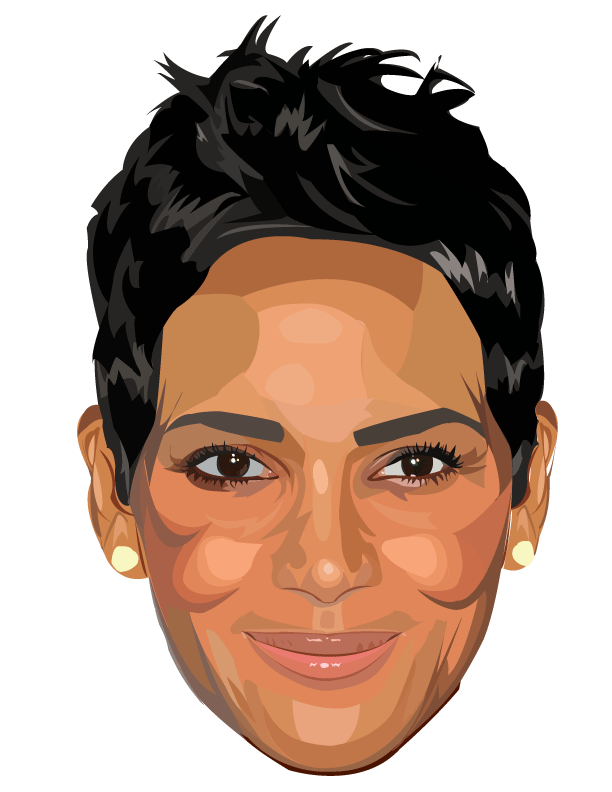
ASSIGNMENT - Vector Portrait
Here’s what you need to do:
• You must take a picture of your self and bring it into Illustrator.
Feel free to use a previously taken photo.
However, it must be a clean image and not one taken from social media.
OR - Feel free to find an image of your favourite celebrity or character online.
*** MUST BE A PHOTOGRAPH and not an illustration.***
• You must use the pen tool to create the vector shapes in the image.
• Your vector shapes must be coloured in.
• You are not allowed to use the live trace.
• Have fun, create an interesting pose that represents you.
Deliverables:
• Your project will be created on a standard paper size.
• You will hand in the final image in .ai format.
Setting Up Your Work
1. Locate your photo; ensure that this is a large photo so you can zoom into detail.
2. Open a new document in Adobe Illustrator: 8.5 x 11" or 11 x 8.5"
(this depends on whether you choose a landscape picture or a horizontal picture).
3. Set up your Layers:
- medium skin tones (face base colour)
- skin shadow/ lowlights (dark areas of face)
- skin highlights (bright areas of face)
- medium hair tones (hair base colour)
- hair highlights (
- hair lowlights
- eyebrows
- eyes
- nose
- lips
- ears
- if you have any additional details in the photo you plan on recreating then you will need to make layers for these as well. (ie. hair band, hat, clothing, etc.)
4. Begin by selecting your medium skin tone layer, select the pen tool, and then create your anchor points while tracing out the shape of the face.
5. You can then use the eyedropper to select the colour of the skin, this will help in ensuring that the skin tone looks realistic.
6. To begin adding highlights and shadows, hide the medium skin tone layer and then select the layer you wish to work on. You should now be able to see just the pictures and can use the pen tool to trace out all the little shapes.
7. Once the skin is done, move on to the hair, continue until all portions of the photo are complete.
8. If you find that when all layers are visible some of your work is covered up, this means you will need to reorganize your layers. Remember the layer at the top of the list will be on top of the design.
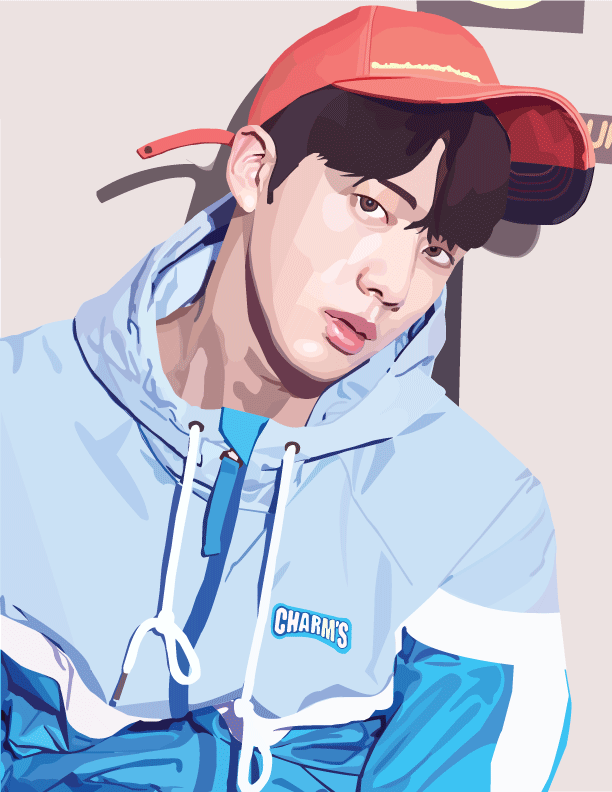
Student Examples
> CLICK HERE TO DOWNLOAD .ai versions of previous student examples.
This way you can see how details are created and how to set up your layers.
Close-ups of Features


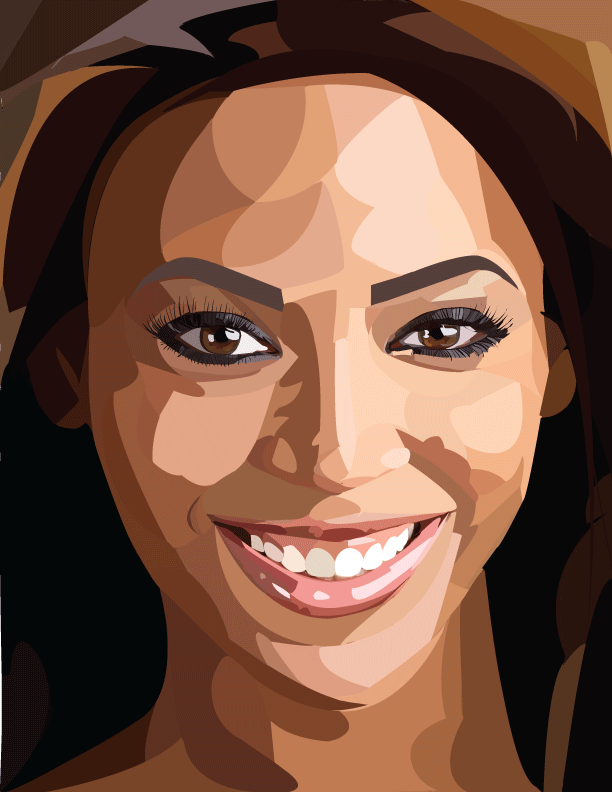
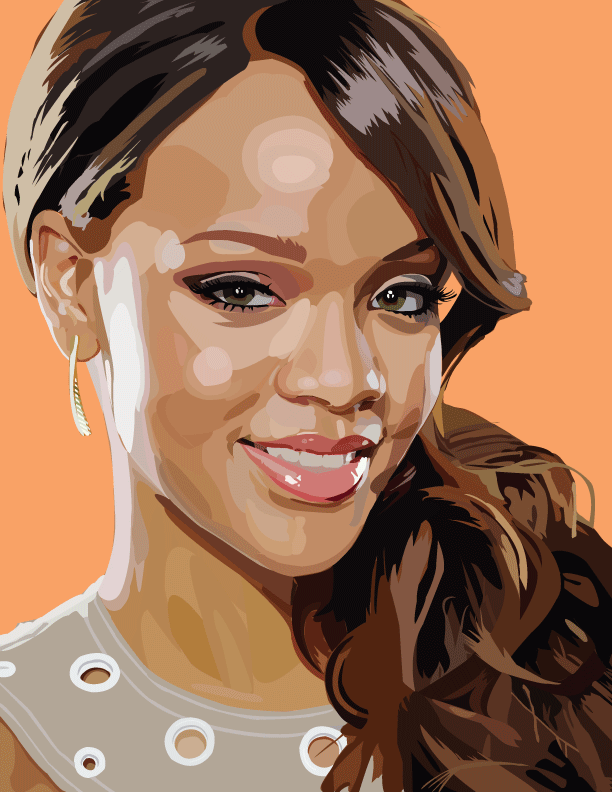
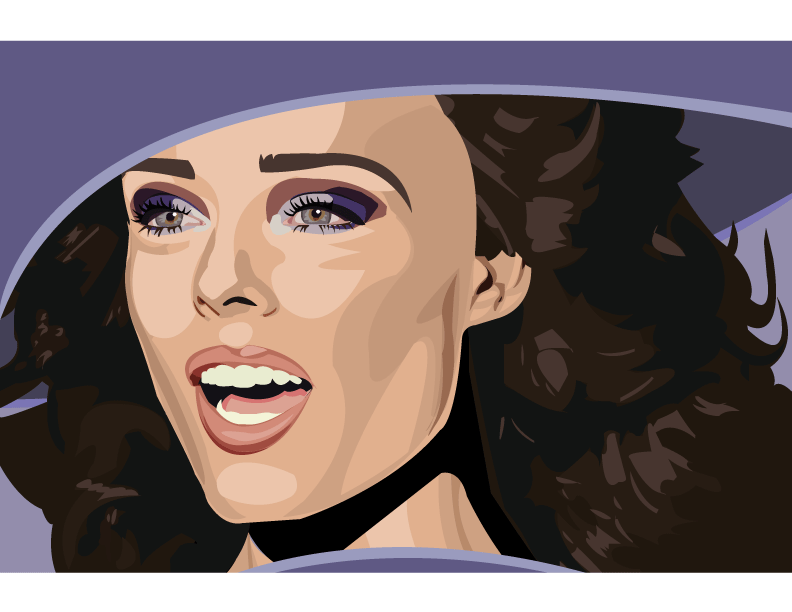


Professional Examples
> Click Photos below to view larger


